Here are some key tips to help you survive the early challenges of the Dungeon of Dread and master its secrets through each fateful run!
Take your time between runs
Even in the heat of battle. As long as you remain still, you have as much time as you need to plan your next move.
Don’t hoard your items!
Even if they are unidentified, consider using them as soon as you find them. Using unidentified items can be risky, so take this with a grain of salt, but embracing the unknown often leads to a more thrilling run.
Beware the Reaper!
The Reaper is a relentless monster stalking the dungeon’s entrance, preying on unsuspecting newcomers. As you venture deeper, his presence fades, granting more time to explore – but that’s little comfort early on when you’re most vulnerable and desperate for loot.
When entering a new floor, your best bet is to find the exit as soon as possible – but don’t neglect loot entirely, or you’ll struggle in the deeper levels. It’s a delicate balance. Always prioritize locating the exit over aimless exploration. Once you know where the exit is, you can explore cautiously, ready to bolt if The Reaper appears.
Stay alert while searching. A single death bell – not the full three – signals The Reaper is near, but you’ve still got time. Don’t panic! If you hear this warning and haven’t found the exit, drop the loot hunt and focus on finding it fast.
For more strategies on how to handle The Reaper, click here.
Praying
You can Pray at any time by pressing P on the keyboard (DPAD RIGHT for controllers). But do so only as a last resort. Overusing it can anger your deity, so save it dire situations where you have no other choice. After using your prayer once, give it some time before using it again. You might even notice a helpful hint signifying when the time is right!
When in doubt, RUN!
Fleeing is often your best bet for survival in the Dungeon of Dread. As you retreat, your HP gradually increases and often enemies aren’t as fast as you so it gives you a chance to gain some ground on them and maybe the chance to use a ranged attack (either by zapping a wand or throwing an item from a safe distance).
Navigating the Dungeon
Generally you do better to seek out the corner rooms first when you have a choice about where to go, but remember that the special rooms are always located in the centre of the floor, so it might be worth checking out what’s there first.
If you begin a floor in a maze, you always begin at the entrance. To avoid getting lost early on, consider exploring alternate paths first.
As you get deeper into the dungeon, try to create a loop as quickly as possible. If trouble strikes, you can circle back to the loop, running laps to regenerate health. Rooms with pillars can also work for looping, but only against one or two of the slower monsters.
Be careful in dark rooms!
Usually, when you enter a room, it is revealed on the map in its entirely. Not so for dark rooms. Therefore, when you first appear in the doorway to a dark room, examine for several turns before you enter to lure hidden monsters towards you, ensuring you get the first hit on them.
Combat
When you see a monster, resting repeatedly (by pressing R on the keyboard or B on the controller) forces the monster to use its turn to get closer to you, ensuring you get the first hit as you lure enemies towards you! But be wary of enemies that can attack from a distance.
Early in a run, consider using the Archer Wand for an opening shot then resort to melee attacks to defeat your enemy. If the bolt deals 4+ damage, your next melee strike will likely finish weaker foes, allowing you to conserve more bolts for more difficult monsters later on.
You can throw items
You can throw any item that isn’t cursed, but be careful with potions as they break on impact. You can throw items down a corridor before you walk through it to detect monsters! You can throw potions such as Potion of Poison, Potion of Paralysis and Potion of Blindness at enemies and poison is particularly effective against them!
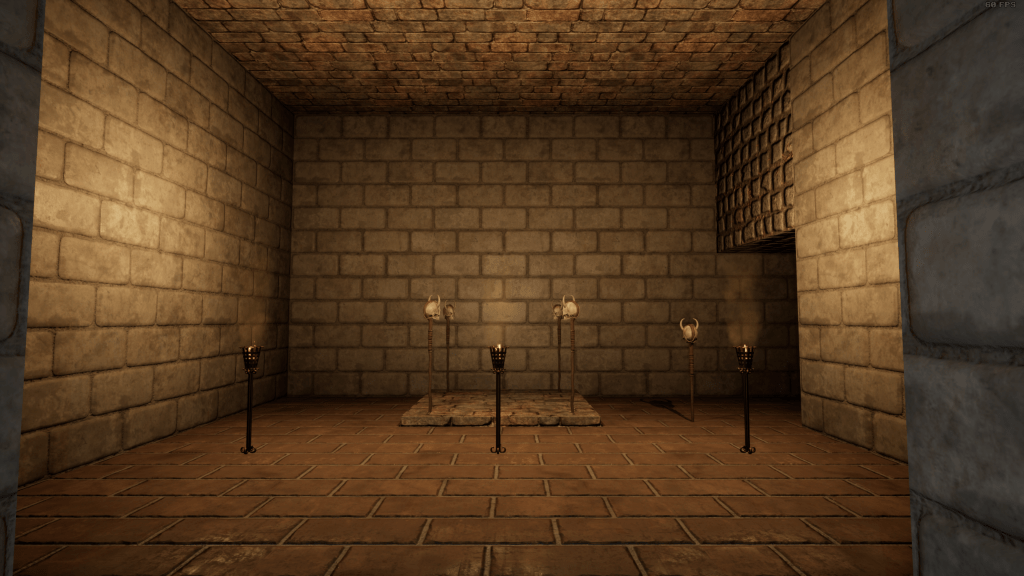
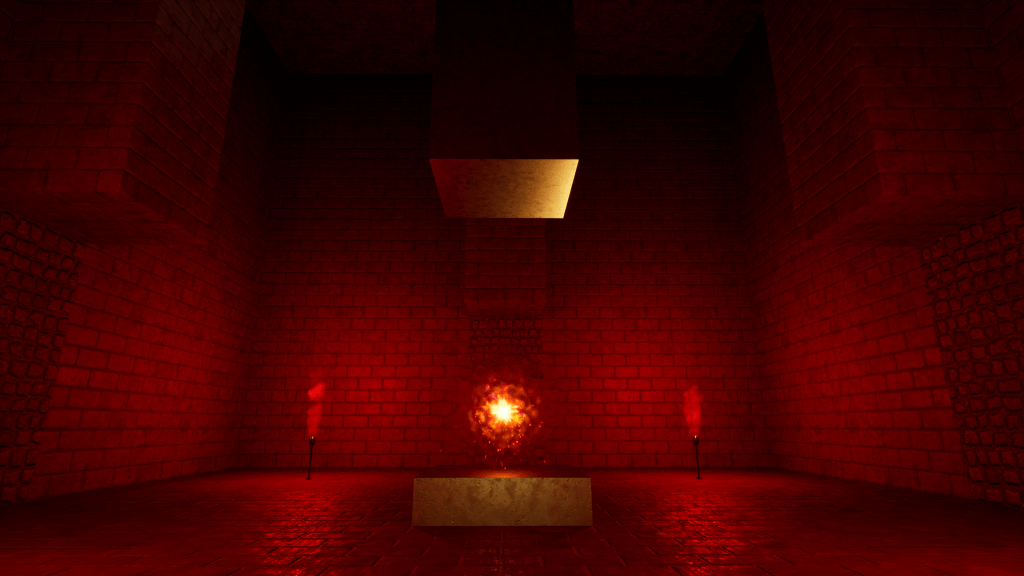
Other Tips
- The effect of a ring is permanent while wearing it but rings consume more food it might be better not to wear them all the time.
- Starting on Floor 6, Deadly Hands can rust your metal armor, but their powers are ineffective against leather.
- After offering an item at the Altar of Sacrifice, always check it again – you might get another chance.
- Free the first caged monster you encounter as it has the best chance of becoming your thrall or granting liberation. A thrall fights monsters for you until the floor ends. Liberation makes all monsters of that type peaceful for the remainder of your run. Be careful though, attacking or aggravating liberated monsters breaks the truce, turning them hostile again!
- Items like Scroll of Remove Curse or Scroll of Identify All only affect items directly in your inventory, not those inside bags, so plan your inventory management accordingly.

Leave a comment