.
.
.
Please note this guide is full of SPOILERS! Only continue if you are sure you don’t want to figure this out for yourself in-game.
.
.
.
(SCROLL DOWN TO VIEW SPOILERS)
.
.
.
.
.
.
.
(SCROLL DOWN TO VIEW SPOILERS)
.
.
.
.
.
.
.

- There are various ways to play the game, but initially the only way known to you is referred to as “escape”. There is also “ascension” and “transcension” but these have to be discovered (see various rules below for more detail on how this works). But generally speaking, there are two main ways to navigate the dungeon. ESCAPE means: “floor 1 to floor 10 -> wear crown -> floor 10 to floor 1 -> escape”. ASCEND means: “floor 1 to floor 26 -> wear amulet -> floor 26 to floor 1 -> ascend. Transcension is different – to transcend you have to accept you are stuck in this dungeon forever and there is no point trying to escape or even ascend. Transcension involves making your reality peaceful by dooming every single monster in the dungeon, including the friendly ones! (except Wishbone – he is your only true friend in this dreadful place!).
- The game monitors your actions during gameplay, with each “conduct” shown in the Character section of the Game Menu. Completing the game while maintaining specific conducts earns you a Code of Conduct, displayed on the leaderboard. For example, escaping or ascending as a Righteous Dignified Atheist will add “3ADR” to your leaderboard entry.
- Remember: SOME BEASTS BEAR WARES NOT WAR! Midgul is the shop keeper. Fayora identifies items for you. Hegor sells you food. Valac can enchant your items. Erizul service is a bit more mysterious! He can end your run if you are human! But if you are a monster, he will doom your race and return you to human form. All except Erizul charge for their services and Hegor & Valac increase their prices after each use. Fayora isn’t as greedy so her price always remains at a modest 50 gold pieces per identification.
- Crawlers don’t replicate in corridors.
- Wearing a ring increases your hunger rate, causing you to feel hungry more quickly, but the benefits are often worth it.
- Mazes are easy to get lost in and consume a lot of energy. Always consider alternative routes first and only enter if you are satiated and in good health (or if you have a Scroll of Magic Mapping!).
- You can throw items onto the ground if you want to rearrange your inventory.
- You can throw items into empty chests (as long as they are open) for safe keeping.
- If you store an item in a cursed bag, you won’t be able to take it out until you find a way to remove the curse.
- Some bags have magic powers but if the bag is unidentified you won’t know what the power is until you try it. You can open the item in the inventory and press the ??? button to use the special power. This also identifies the bag, but as always with using unidentified items, it’s a risk – it’s often better to identify the bag via a Scroll of Identify or Fayora first.
- Friendly monsters can’t be attacked via normal melee attacks, but you can zap them with wands!
- When a friendly monster is attacked, it becomes very angry, all the doors on the floor open and it hunts you down.
- All items can be blessed. Blessed items generally perform better, although not all of them.
- By reading a blessed Scroll of Blank Paper, you gain the power to transform it into any scroll of your choice.
- By zapping a blessed Wand of Nothing, you gain the power to transform it into any wand of your choice.
- By drinking a blessed Potion of Thirst Quenching, you gain the power to transform it into any potion of your choosing.
- All items can be cursed. Cursed items are usually weaker in some way. Once equipped, cursed items cannot be unequipped by normal means.
- All weapons and armor eventually break, unless they are cursed!
- The Vortex is a portal that lets you skip floors. Usually, it’s between 2-4 floors, 2-6 on rare occasions (more likely if wearing Ring of Luck). Be careful though, as sometimes the Vortex may claim and item in return for a jump.
- The Vortex does not claim items stored in bags.
- When you free a monster from its cage, it may be so grateful that it follows you, slaying your enemies, until you leave for another floor.
- Another benefit of freeing a monster is liberation. A liberated monster makes its entire species peaceful for the rest of your run—unless you break their trust!
- Freeing a monster can also grant liberation. A liberated monster pacifies its entire species for the rest of your run – unless you betray their trust!
- Deadly Hands can’t rust leather armor.
- The Scroll of Sanctify Chest is special. Unlike other scrolls, it only works if you leave it inside a chest. If you pick it up and read it, you’ll hear demonic laughter as “the scroll crumbles to ash in your hands, its essence swallowed by an unseen void“. While it remains inside an open chest, you can lure monsters closer and once they get within range, they will instantly die!
- Items that affect your inventory don’t apply to items in bags. For example, if you have a wand in a bag and read Scroll of Charging, it won’t charge the wand in the bag.
- Eating a cursed corpse causes you to polymorph into that type of monster!
- While you are a monster, other enemies won’t attack you, but it’s a race against time as you grow hungry very quickly and eventually die.
- While you are a monster, kill weaker monsters and eat their corpse for food, and descend as soon as you can, then search for a Reversion Plinth (they spawn more frequently when you are a monster).
- You can steal from the shop in a variety of ways. All you need to do it make Midgul angry either by zapping him with a wand or by teleporting him elsewhere for example. Once he’s angry he’s too focused on revenge to look after the shop!
- There is one way to steal from the shop without making Midgul angry. By becoming invisible it’s possible to take items from shop chests without Midgul noticing.
- All floors in the Dungeon of Dread are arranged in a 3×3 grid, but not all areas of the grid always contain a room. It depends on the layout, of which there are 6.
- White Flames enable you to control which special floor or character will appear on the next floor.
- You can only interact with a White Flame once per floor – if it’s already lit, it will extinguish.
- Tomes provide hints on how to decipher which special floor or character each White Flame is associated with.
- The Tome’s name is an anagram of the character or room it corresponds to. For example, GIMLUD corresponds to MIDGUL.
- The Tom’s symbol represents the shape of the room it corresponds to. Each circle represents a door allowing you to figure out which room it’s referring to. For example, MIDGUL’s Tome has a circle on the bottom and the right, meaning it’s the top left room in the 3×3 grid. So if you activate the White Flame in the top-left room, Midgul will spawn on the next floor.
- If you extinguish a White Flame instead of igniting it, it makes all special rooms and characters random on the next floor, but also means the Vault, Lair and Wish rooms are more likely to spawn (these rooms don’t have equivalent White Flames, so they only spawn randomly). Another effect of extinguishing the white flame is that the vortex is more likely to appear on the next floor.
- Each monster is linked to an associated Item, often referred to as a Vault Item. By polymorphing into a monster, you can enter The Vault and obtain four of that monster’s Vault Items. These items may also rarely drop upon the monster’s death.
- The 1st ending (referred to as “Escape”) involves reaching Floor 10, finding the crown then escaping back to Floor 1.
- The 2nd ending (referred to as “Ascension”) involves sacrificing the crown on floor 10 via the altar which is always present on floor 10. This makes the elevator descend to floor 11 allowing you to go deeper into the dungeon, all the way to floor 26 to find the amulet
- Unlike the crown, the amulet is protected by a special enemy called Mea. You have to deal with her, find the amulet then ascend all the way back up to floor 1.
- The 3rd ending (referred to as “Transcension”) involves sacrificing the amulet, and then dooming all enemies until the dungeon is empty. Once this is achieved, you can interact with the altar to initiate the 3rd ending.
- When the amulet is sacrificed, the dungeon changes! All of a sudden, everyone is against you, even the friendly monsters! Also, from now on all monsters can spawn, including early level monsters and even Mea!
- The first time you escape you unlock the 8 hidden character classes and Completion Marks.
- Completion Marks appear on the main menu and show you which character roles you have beat the game with, the deepest floor you’ve reached with that particular role and how many endings you’ve completed while playing as that role.
- The first time you ascend you unlock Hard Mode.
- Hard mode lets you begin a run with all monsters able to spawn and there are no friendly monsters in hard mode to help you out.
- At the start of each run, your deity is mildly angry. 2 sacrifices is enough to put him in a good mood – after that, all sacrifices onwards will be rewarded!
- If you bless a Scroll of Monster Doom, you gain the power to choose which monster race to doom upon reading the scroll.
- If your sacrifice is blessed, it’s enough to please deity alone.
- If your sacrifice is cursed, it doesn’t change your deity’s mood at all, but it is a way to get rid of cursed items, even equipped ones!
- Various things make the deity angrier
- Bad behaviour such as stealing, praying too often and attacking friendly monsters makes your deity angry.
- There is also a chance of making your deity angry if you attack a peaceful monster, but this is less likely to happen if you are wearing the ring of luck.
- Using the Divine Conduit is considered prayer too!
- If your deity is happy, the Divine Conduit will increase its happiness.
- If your deity is angry, the Divine Conduit will reset your deity to a neutral happy state.
- Scroll of aggravate monsters will aggravate all monsters on the current floor. If any of them are liberated, it will break the truce!
- If you notice a monster raging, it means it’s next attack will be critical so be careful.
- You can throw corpses and each one has a different damage rating.
- You can eat corpses to satiate yourself.
- Some corpses cause intrinsic effects when eaten, which differ depending on the monster type. Some are beneficial, some aren’t so be careful.
- If you eat a cursed corpse you will polymorph into the monster of that type.
- There are 7 special rooms and they always spawn in the centre room of the floor.
- The STASH special room has 4 guaranteed chests.
- The LAIR is full of high quality gear and also high level enemies!
- The VAULT is only accessible in monster form. Once inside you can turn back into a human at the Reversion Plinth and collect 4 copies of the Vault Item for the monster you entered as.
- The ZOO has 4 cages giving you 4 chances to liberate a monster race or recruit a thrall.
- The CHAMBER lets you curse one of your inventory items.
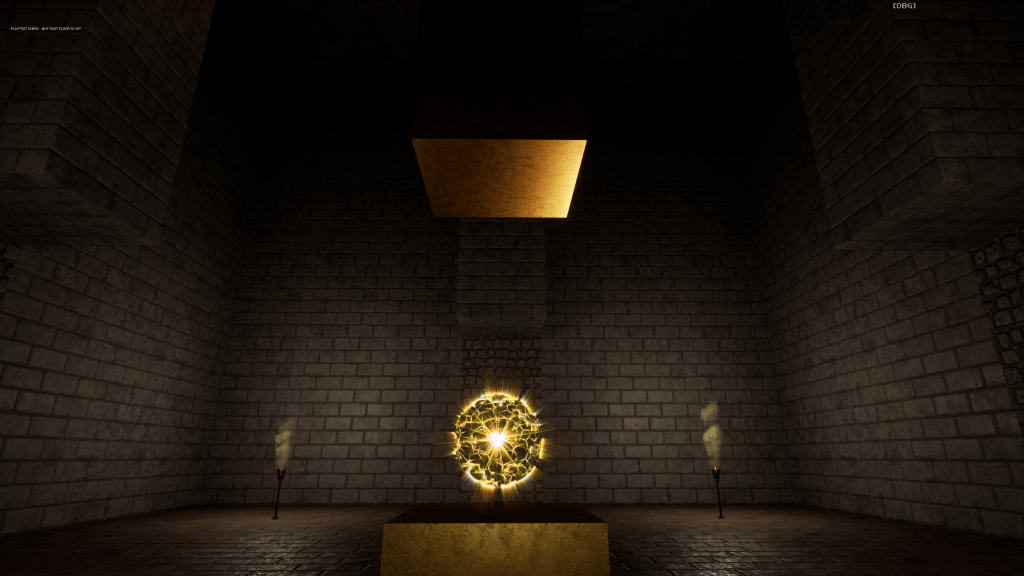
- The ALTAR lets you sacrifice items in exchange for rewards.
- The 7th special room is home to Wishbone, the skeleton from the tutorial and your only friend in this forsaken dungeon. Wishbone grants you a wish, allowing you to claim any item, as long as you can remember what it’s called!
- When a monster is doomed, from now on, whenever that monster would’ve spawned, you’ll see a gravestone instead.
- Gravestones don’t usually do anything, but if you doom a friendly monster then seek out its gravestone, it provides a special blessing.
- Midgul’s Blessing fills the shop with normal chests that the player can open without charge.
- Fayora’s Blessing identifies between 1-3 magic items, even if they aren’t in your inventory.
- Hegor’s Blessing lets you choose an inventory item to replace with a piece of food.
- Valac’s Blessing lets you bless an inventory item of your choice.
- Erizul’s Blessing lets you duplicate an item of a randomly chosen category.
- Praying restores your health fully, but if you try to pray again too quickly, your deity will strike you with lightning and you will be left with 1HP.
- If you pray to the Divine Conduit too soon, it makes your deity furious!
- You will know when it’s okay to pray again, when you “feel a strange sensation”.
- If you pray when your health is below a certain amount (2d5), there is a chance of Divine Intervention, where your deity will not only restore your health but also teleport you to safety!
- The Wand of Displacement can be used on chests too – especially useful if the chest is empty and you need to escape a tough situation.
- When using a Wand of Poison on an enemy, it will drastically reduce its health, so don’t waste another charge on it – you should be able to finish it off with a light melee attack.
- When making a wish, you can type in the name of a specific item such as “Scroll of Identify” or be more vague and type “wand”, for example, and you will get a random wand. You can also type “blessed” to make the item blessed but it must be the first word and it must be typed correctly – “bless” doesn’t work. Same rules for “cursed”.
- Corpses will begin to rot over time then eventually decay into nothingness.
- If you try to eat a rotten corpse, you will gag on the spoiled meat, causing 3d5 damage.
- If you try to throw a rotten corpse, it will burst into acidic sludge, searing your flesh, causing 2d5 damage.
- If you try to throw a cursed corpse, it will shatter in your hand, unleashing a vile miasma that sears your flesh with agonizing pain, causing 2d5 damage.
- Corpses don’t rot when placed inside bags.
- If you eat on a full stomach (your hunger stats is SATIATED when you are full), you have a chance of choking, causing 2d5 damage.
- You can place items onto the altar of sacrifice (by throwing them) to determine their beatitude. If there is no message, you can be sure the item is not blessed or cursed. If it’s blessed, the message is “Your <ITEM> glows with a light amber aura!”. If it’s cursed, the message is “Your <ITEM> emits a black aura!”.
- You can only throw bags if they are empty.
- If you have Bag of Cursing you can freely test to make sure items are uncursed. You don’t have to use a charge for this – if an item is already cursed, the Curse button will be disabled in the Inventory UI, so if the item isn’t cursed, the button won’t be disabled.
- The Bag of Holding doesn’t have special abilities but it is still an extremely useful item as it is the only bag that can hold 15 items, essentially doubling the size of your inventory!
- You can test if a bag is cursed by placing an unwanted item inside it, then trying to take it out. If you can remove it from the bag, then the bag is not cursed.
- If you bless a Scroll of Charging, it will charge all of your bags as well as all your wands!
- The Scroll of Amnesia usually has a negative effect as it causes you to forget where you have been (random tiles on the map are removed) and it also clears your activity log! But… if it’s blessed, reading it allows you to forget your troubles for a while instead, instantly removing all enemies from the entire floor!
- If you find a wall with a mysterious skull on it that reads “sacrifice yourself and all shall be revealed” and you are wearing a Ring of Resurrection, you can end your run and you’ll notice the door slowly opening. Use the Ring of Resurrection to continue playing and now you can enter the room! Inside, you’ll find special chests that containing rare items. Note that all the death doors open when you die, so check to see if there are more. Also note, when you open a death door, it magically transforms all chests located in secret area to a special chest, so this is a great way to get high-quality loot early on. Final note: Warlock starts with Ring of Resurrection!

Leave a comment